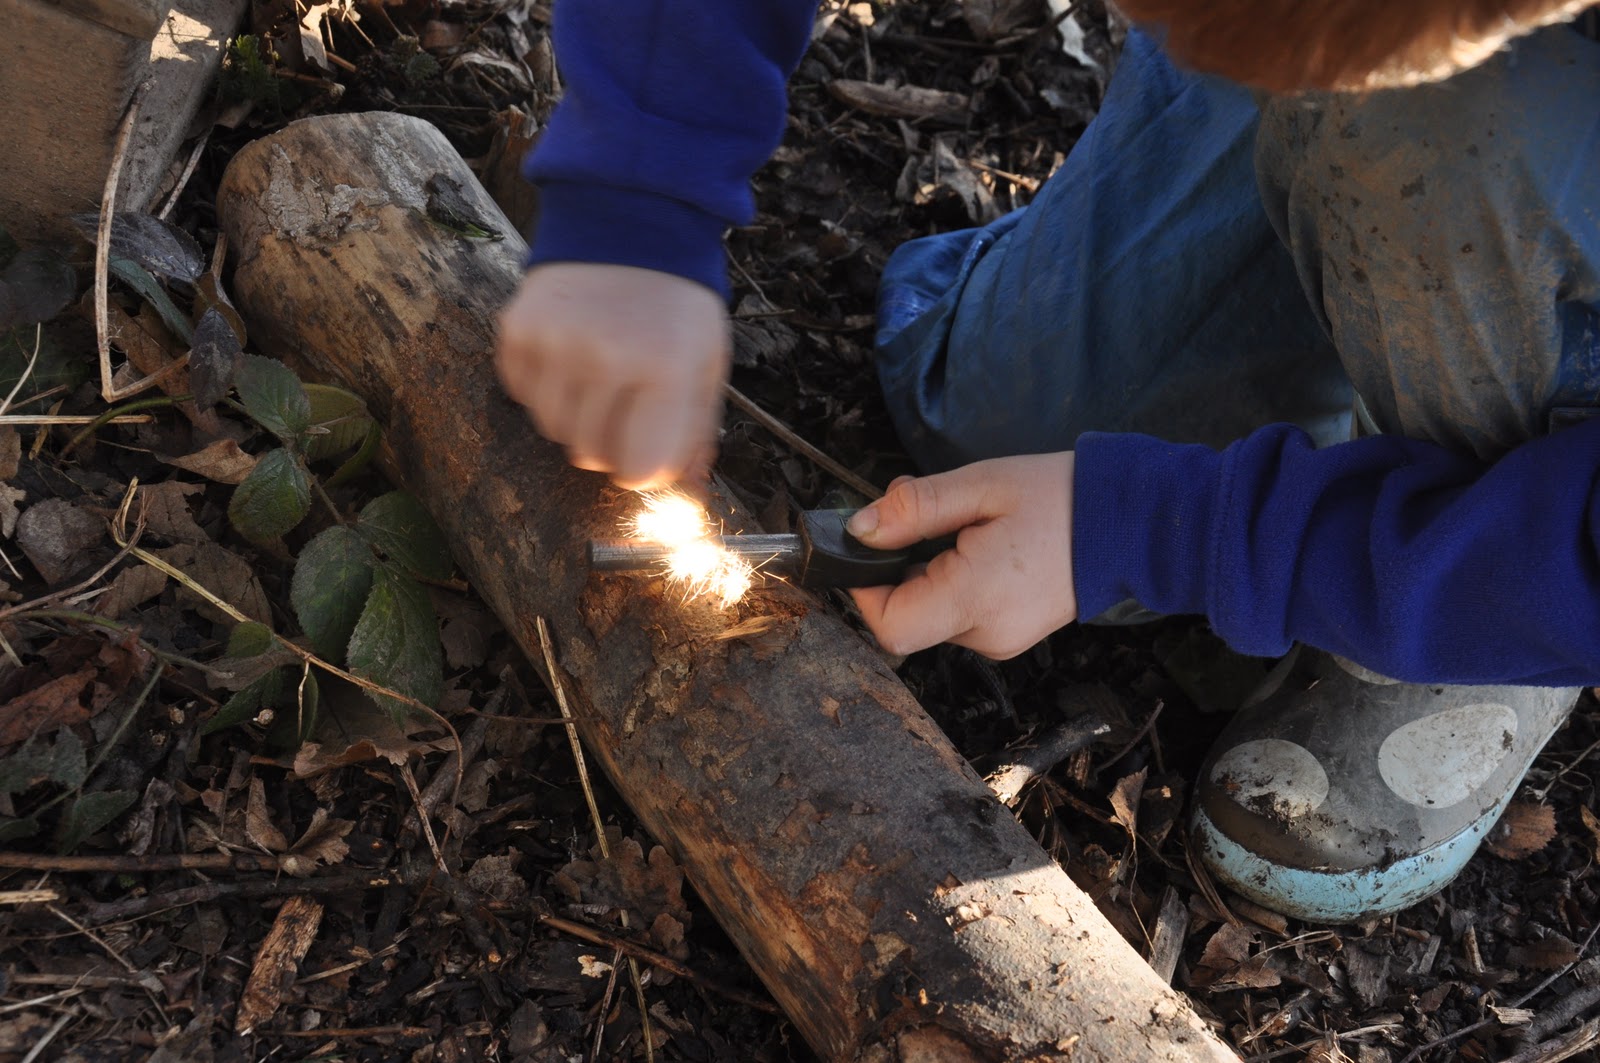
Showing posts with label fire. Show all posts

Saturday, 18 October 2014

Pewter

Here's a lovely thing to do over the fire. I did a bit of metal casting when I studied metalwork in my teens and it feels like alchemy every time you cast metal. 

Pewter is a metal that has a low enough melting point to melt over an ordinary fire. Which just adds to the magic.


If you are planning to do this with children then think carefully through the steps you put in place and practise the skill yourself first. 

Hopefully you will get the idea from the following photos. 


You can use anything to make a mold. I quite like using cuttlefish as it is soft and easy to carve even with a nail. It also leaves an amazing patterned imprint on the surface of the metal. 


Remember whatever you cast will come out in reverse, This can be tricky especially with letters. 


A wall of clay around the cuttlefish will ensure the pewter doesn't roll off the sides and can be used to give a nice overall shape to the piece.

You'll need a crucible. Anyone who knows my love of a good contraption will approve Of this spoon lashed into a split green stick with some wire.


Striking the edge of the spoon with a screwdriver gives it a good pouring edge. 


These don't have as big a capacity as casting crucibles but it's easier to get hold of an old spoon. 


The pewter I use is a fine grain lead free* casting pewter. Sold for fishing and craft work it's fairly easy to find online and it goes a surprisingly long way. *The lead free bit is important. Don't be tempted to reuse old pewterware by melting it down.


There comes a point where the grains become liquid. It's important to watch for this stage as the pewter can scorch after it has melted and you end up wasting some. 
Pewter has a low melting point, around 170-230 degrees C (338-446 degrees F) depending on the exact mixture of metals. It seems to work fine on a normal open fire.


 See how the scorched pewter stays in the crucible and the lovely shiny metal comes out from underneath it. 


This is the trickiest bit; getting the metal to stay where you want it and filling the entire mold evenly. You have to move fairly quickly to make sure the metal stays molten. The results of partially filled molds can be quite interesting and if you don't like it then just melt it down and start over. 


Then the exciting part; sitting patiently while it cools. It stays hot for a while but will be ready to turn out after a few minutes. 


The mold can be reused again and again which gets some interesting results. These fish were made by my friend the artist Jo Polack who has a thing about mackerel. You can see the effect of the cuttlefish pattern on the surface. 


Remember to work out your own plan to make sure everyone can enjoy this safely. Let me know if you try pewter casting. I would love to see photos of the things you make. 

Wednesday, 21 May 2014

Char flowers

There is a really fascinating process you can do with fire that is basically making charcoal but without any wood...


The process of making charcoal is to get something that is carbon based; so pretty much everything that was once alive, heat it up really hot without any oxygen until the water, the volatiles and the other impurities are burnt off and only the carbon is left behind. 


So much for the science part! This is actually a lot simpler than it sounds. 

Charcoal does this with wood, but what if you used flowers and seed heads, leaves and fronds....


The best way to create an atmosphere with very little oxygen is a treacle tin, or some other metal tin with a tight fitting lid. 

This tin needs a single hole in the top. Made with a hammer and nail.


The tin then be filled with the stuff you want to char. This is the method for making char-cloth. This will catch a spark very easily and was used in tinder boxes. Leaves, flowers, seed heads and any other natural thing will also char. 


The filled tin is then put onto the fire in a hot area. This will drive anything that isn't carbon out. You will see it coming out of the hole in the top. First as white puffy clouds of smoke with lots of water in, then the smoke looks dirtier with browns and eventually blues as all the other stuff is driven out.


The next stage after this is for the objects to catch fire and we don't want that. So remove the tin and poke a twig in the top to stop any more oxygen getting in and allow the tin to cool. 

When you open it up inside are brittle black gothic versions of the things you put in. 


These holly leaves were covered in beetle blues and purples. 


We tried a dandelion head but I don't know if we were too impatient but the seeds never went really black. 


It's a really interesting experiment and everything I saw for a couple of days afterwards I wondered what it would look like. It could be an engaging line of investigation for a Forest School programme. 


Sunday, 18 November 2012

Sweet treats; Baking in the woods

Well-being is really important, especially if you are working outside all day in the cold and rain. So with that in mind I thought I would share with you some of my favourite outdoor cooking treats, suitable for a day on the woods or a Forest School. 

You'll notice there are no times for any of these recipes, that's because fire baking isn't as consistent as using an oven. I've found the best guide is my nose. As soon as the smells start wafting, I start checking! 


The cake in the picture is cooked in a dutch oven, which is a big cast iron pot with a lid. The lid is designed so you can put embers on top and heat it from above. You don't need to have a special dutch oven, any pan that is suitable for the fire can be used with an oversize lid (to stop ash dropping in). One good tip is to turn the pan lid upside down. The lid then stops the small bits of embers falling off. 

Heat the pan over a fire first to get the temperature up.
 This is just like heating the oven before you put a cake in.
Then put the embers on top with some small sticks to keep
the fire going. 
One thing I'm gradually discovering is if you put all the heat from the top when
baking you are less likely to burn the bottom. 

You can use this technique to bake any kind of cake, biscuit or bread. On a recent Kindling training course Cheryl and Belinda brought a ready made cake mix along to try that.

The result was really tasty! 


Bannock: This is a very traditional way to make unyeasted bread and is very flexible recipe.


This bannock had buttermilk and egg in it which is what made it rise so well.
Chris and Gerard baked this on a Kindling training course. 


Chris and Gerard
Yeasted bread,
sourdough baked in a dutch oven
You can also bake without lugging pans around. I've been baking using hazel leaves to wrap a little bit of biscuit dough or cake mix and then pop the parcels onto a hot stone or pan for 10- 15 minutes or so. 
This macaroon recipe also works really well cooked this way. 


These leaves will be used to cook a bit of cookie dough
Wrap up like a little parcel, and with the ends tucked underneath,


Little cake bites wrapped in hazel leaves. Which is all edible.


You can also use foil for baking instead of leaves but I'm trying to find natural alternatives to foil because of the number of times I have found a nice fire place to cook in and someone has left it full of half burnt aluminium foil. But that said here is another classic outdoor on a fire baking trick. Chocolate pudding in an orange.


This pudding is pretty simple. Cut the top of the orange off and scoop out all the flesh. Half fill the empty shell with a regular cake mix, I think chocolate cake mix works well. Cook in the embers until those smells start wafting! 

Yum! all these treats are making me peckish. I'd better go and chop some wood for the fire so I can really work up an appetite!


Recipe cards made at http://www.blyberg.net/card-generator/

Sunday, 24 April 2011

The popcorn maker is dead! Long live the popcorn maker!


I took my fire top popcorn maker with me to the woods this week. Had I known it would be it's last outing, I might have marked its passing in some way. The children were intrigued by the popcorn maker. A conversation I had with a group of 9 and 10 year olds went a bit like this:
Popcorn maker in action
"Oooh Lily, What's that?"
"What do you think it is?"
"Is it for catching fish...?" "nah, there's no fish in the woods..." "You could catch things with it....." "Lily can we catch butterflies with it....?"
"It's not for catching anything at all. Can you smell anything on it?"
"uuurgh! that smells..." "it smells like smoke...." "it smells like fire..." "has it been on fire?"
"It has. It has been used on a fire. What do you think we could use it for?"
........"Could we put something in it?" " ....I know we could put something inside there and put it over a fire" "We could cook a fish!" "....Are we having a fire today?" "....Yay! fire!!" " ...Are we going to light a fire? "Can I carry that?" "We're going to make a fire!"

It survived four trips to the woods this week, cooked over four fires, made many more than four batches of popcorn, but by the end of the week it was hanging apart. About time I made a new one. The popcorn maker is basically two sieves with a few refinements:


Here is a handy shopping /scavenging list for you.

The stick has a few notches carved in it to help stop the wire from slipping, I have used string in the past but you run the risk of setting string on fire, wire is much better and this bit of wire has been reused for this purpose a few times now. This must be popcorn maker mark #6 or #7. Mark #2 and Mark 5 were both given away.


Cut off a piece of the wire. About 2 inches (5cm) should be plenty. With the rest of the wire,bind the handle of the first sieve onto the stick, starting from the centre of the wire.


 Try and make it as tight as possible and tuck the sharp ends over and hide them inside the binding.


Make sure you leave a loop at the bottom of the binding where you can tuck the handle of the other sieve to hold the two together when you are ready to pop. 


Using the short section of wire you cut earlier, poke through the holes of both sieves to make a loop at the top of the sieves that joins them together and will act like a hinge. 


Below you can see the loop at the end of the sieve handle. This is now really sturdy and will withstand all sorts of adventures. 


The knack is not to put too many corn kernels in the sieve. A small handful is plenty. Then hold the sieve above the embers of a fire. I learnt through bitter experience not to put them above the flames as the sieve melts or the kernels scorch or dramatically a whole sieve full of popped popcorn can catch fire. Regular 'shoogling' is also vital to keep the popcorn form burning. 


The advantage over a pan for me is that you get to see exactly what is happening. I love the way the children listen so patiently for that first pop, the woooo hoo excitement of when poppping in full swing and the language that children use trying to describe what effect the fire is having on the corn kernels. I also love that you don't need any flavour on the popcorn, the smoke gently flavours it.

Cooking popcorn on a Kelly Kettle base
after the water has boiled for hot chocolate.

Saturday, 2 April 2011

Mad as a march Hare!

March has been an exciting month. So exciting in fact I have barely had time to write it all up! I have been keeping notes and I have started to wade through all my photos, so the next week or so will hopefully get me up to date on current projects which involve a bit of this:


Some more of this:


....finishing off some of this with one group:


and starting some more of this with four new groups:


I even had time to do some of this with adults too: 


 Now what to update first?

comment FB

LinkWithin

Related Posts Plugin for WordPress, Blogger...

LinkWithin

Related Posts Plugin for WordPress, Blogger...